Many times, there is a trade off in 3D animation between a higher quality image and faster rendering times. Typically, I am not concerned with render times as I am not always concerned with deadlines and because I value my time more than I value the computer’s time.
However, many of my recent works have begun to test my patience with waiting for my render just to find that something is wrong and I have to rerender the whole project.
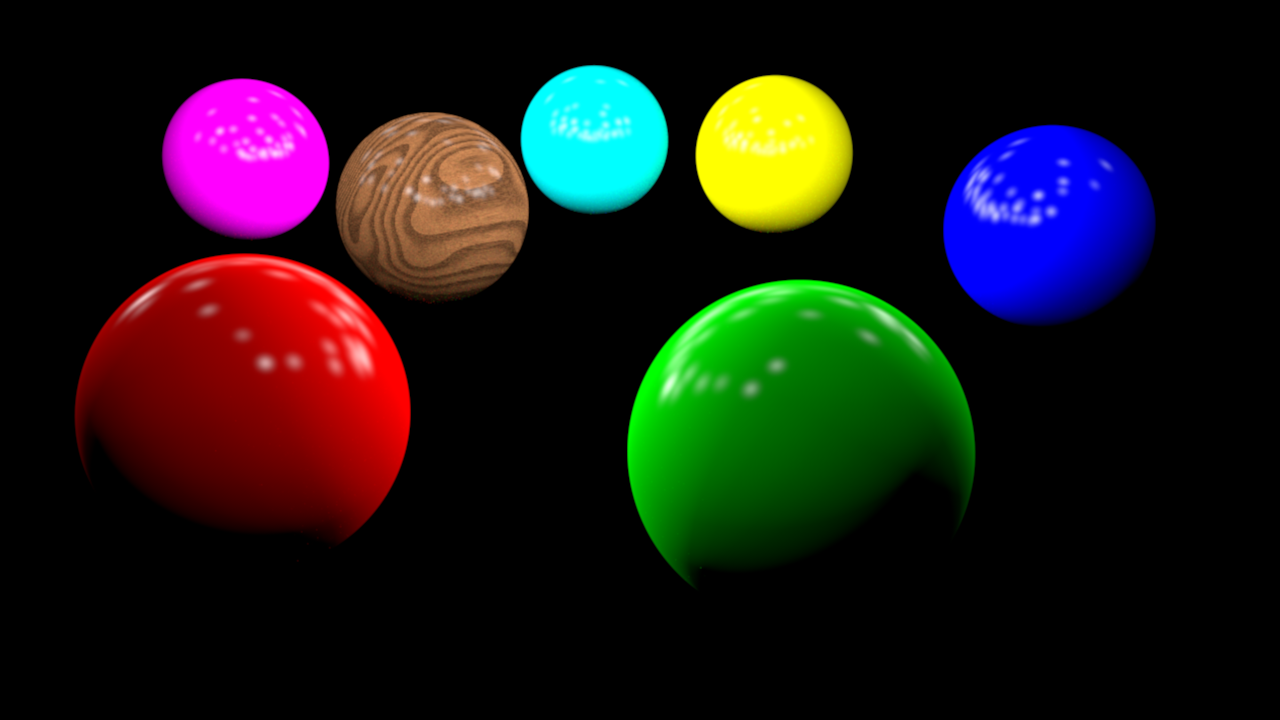
Because of this, I wanted to challenge myself to work on creating an animation in two different ways in Cinema 4D. The first animation to maximize the render time by adding in global illumination and ambient occlusion and reflections and motion blur and colors and textures. And the second animation, to match the first in quality but keeping the render time as low as possible. That means, keeping the color and textures, keeping the motion blur, and trying to add specular details to make up for the loss of reflections.
Animation #1: (Rendered in 2hr 51min 52sec)
Animation #2: (Rendered in 3min 11sec [+ 2min in Post Production])
I learned a lot from this test. The biggest being to not use the color layer in Cinema 4D to get a nice diffusion. The truth is, Cinema 4D does not like the color layer. Instead of using the color layer, I turned to the Reflection layer and used the Lambertian model which gets nearly the same result as using the Color channel. Using the Reflection layer even allowed for me to turn off Global Illumination which further saved on render times. For more information, I would recommend this video by Greyscale gorilla on maximizing render times.
Another big aspect was utilizing the phong specular model. I typically ignore specular, instead looking to just add a more accurate reflection to any material. But the specualr was incredibly versatile for adding light reflections. By adding a large strength and lowering the width, the specular detail looks incredibly similar to a reflection. It was impossible to keep the reflection of the balls on one another, but in the end, this was a small detail that just maybe isn’t as important to the average viewer as an artist may think it is.
The last big lesson was on motion blur. Adding physically accurate motion blur is incredibly intensive and is what added the most time to the above render. Whenever I’ve wanted to add motion blur to a scene, I’ve just had to accept the extra time I was signing myself up for. However, while it is inaccurate, Adobe After Effects has many motion blur effects that can be added in post production. This did add an extra 2 minutes to rendering in post production. But you know what? There isn’t much of a noticeable difference.
Still Image #1:
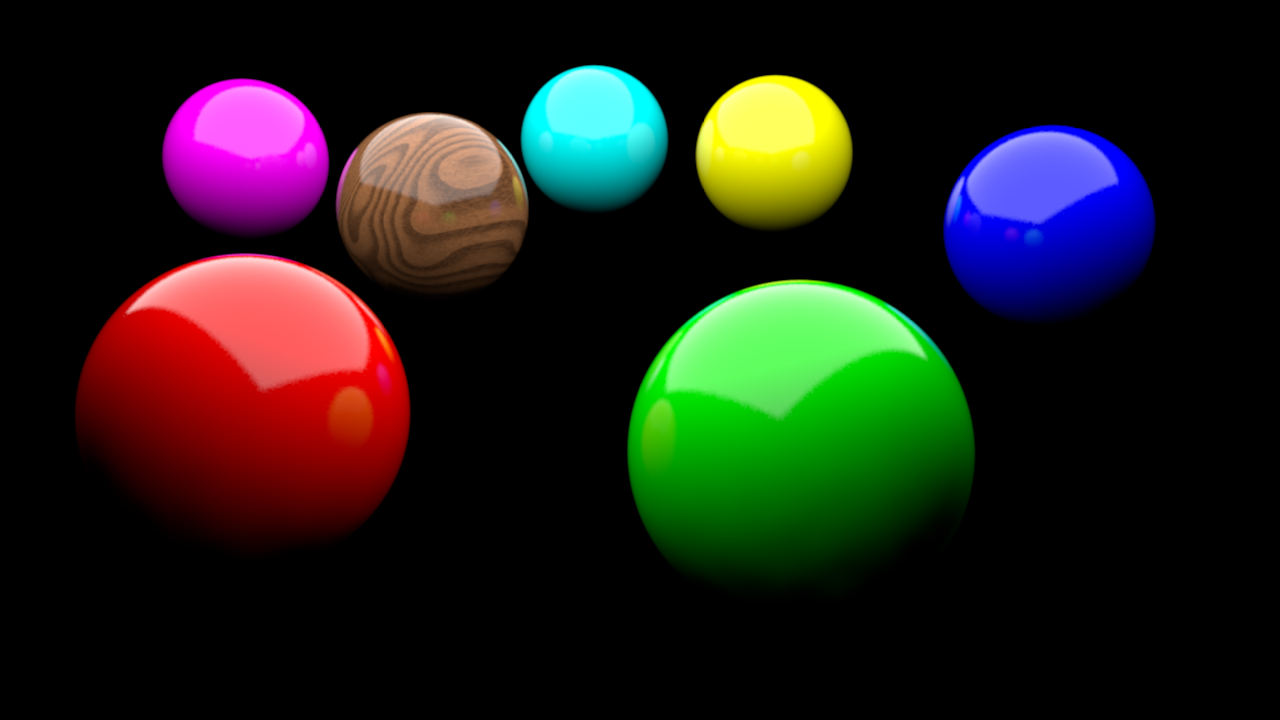
Still Image #2: